This is my very first tutorial so I hope that everything is clear enough for everyone to follow!
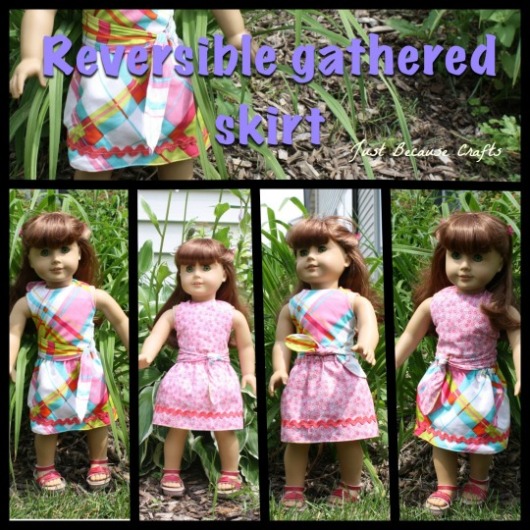
I’ve been admiring the Pretty Plaid outfit from American Girl, but not the price tag so I wanted to try to recreate my own version.
However I wasn’t sure how until I saw this cute plaid at Wal-Mart and then the free pattern from Eden Ava (for signing up for their mailing list) that I knew that I could recreate it.
Since the top pattern is really wonderfully detailed (and takes almost no fabric) I’m going to let that speak for itself. However, I would like to attempt to explain how I made the skirt in case anyone is interested! I did the plaid skirt first to be sure it would work so I don’t have any pictures using that fabric. No problem though, I just used that excuse to make a new skirt to go along with the tutorial!
This skirt pattern is loosely based on the instructions found at MADE on a simple skirt, however I adjusted it for my American Girl Doll and then inspired by the reversible top pattern decided to make it reversible!
So here it goes!
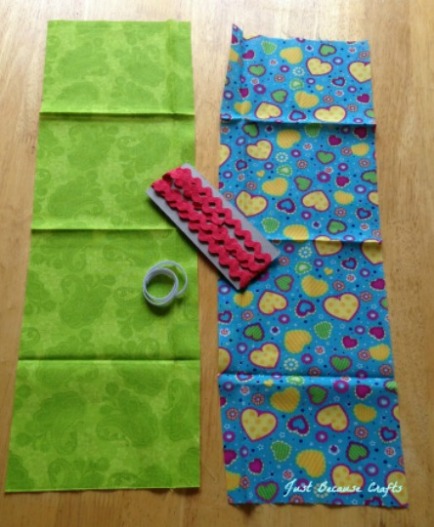
First gather your supplies:
- Two 6″ by 18″ rectangles (I used 18″ because that was the width of my fat quarter)
- One 10.5″ 1/4 inch elastic
- Trim as needed
- Sewing Stuff
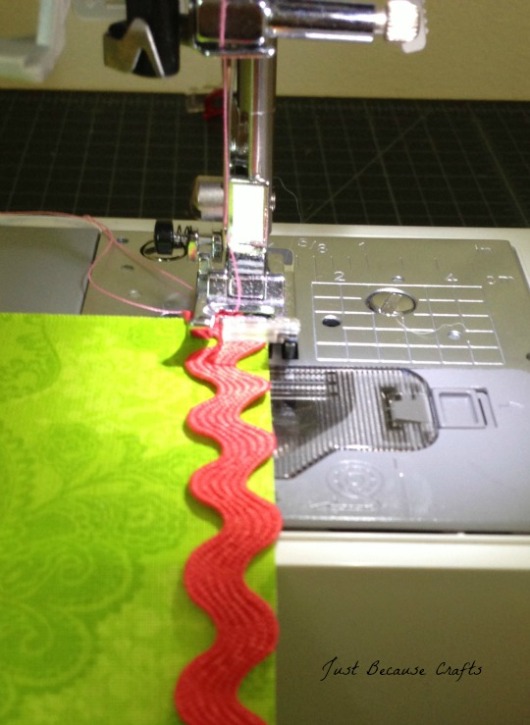
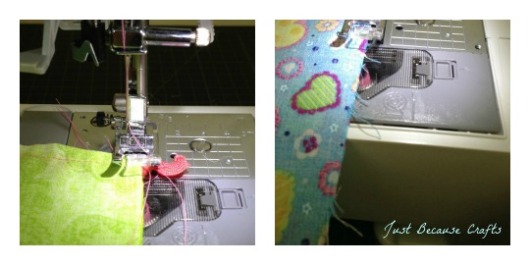
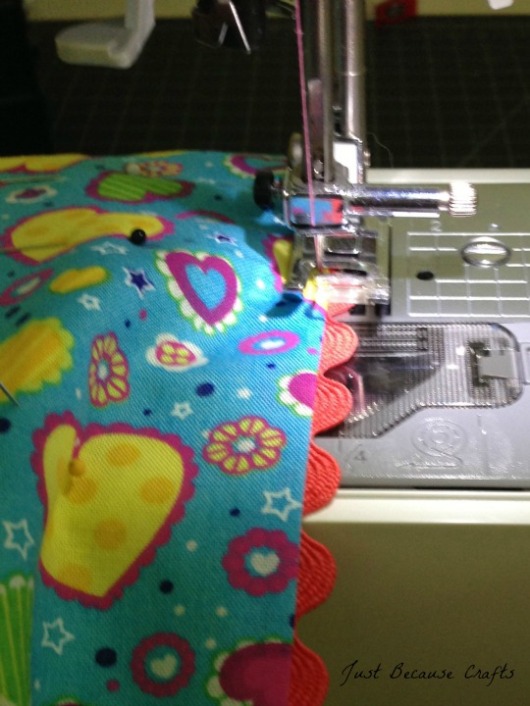
Once your supplies are assembled you first need to attach the trim. For this skirt I only attached trim at the bottom. I did it now because I wanted to keep the raw edges encased inside my skirt, but it did make the back look a little funky. It worked beautifully when I attached it higher (sorry no in progress pics of that – it was my trial run!)
Since I only added trim to the bottom the two skirts can share it, therefore I didn’t attach any to the other (blue) skirt. For the plaid and flowered skirt at the top I attached the trim about an inch up from the bottom.
Next sew up each skirt at 1/4 in to create two tubes.
Now you need to press the seams open and since I was at the iron I pressed the bottom (side with the rick rack on the green) up 1/4 inch. Then put the two skirts together with right sides together.
(Sorry forgot a picture of this!) But sew right at top of the skirt all the way around trying to make sure that the bottom of the skirt mostly matches. Once you’re done then trim along the top. If you forget it’s not a big deal, it just makes it a little easier to feed the elastic through later!
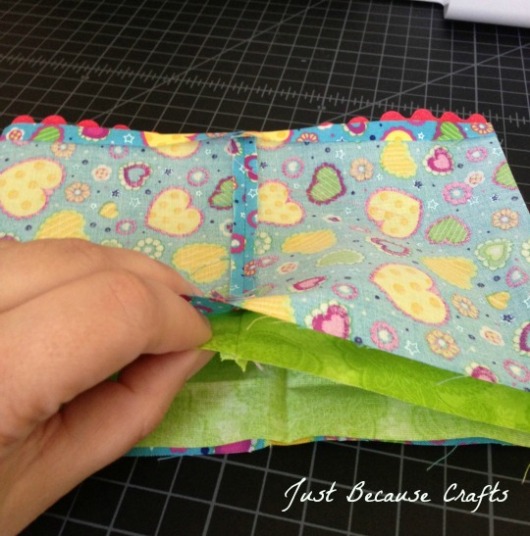
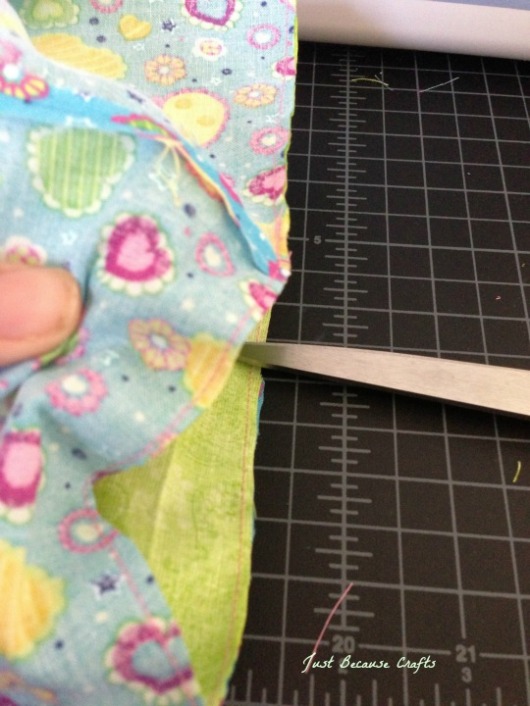
Now flip the skirt right side out and press it so the wrong sides are together (sorry for all the pressing!) and sew 1/2 inch down from the top of the skirt stopping about 1 or 2 inches just before where you started. This creates the casing between the two skirts.
(You can see in this picture how the trim “skips” right at the back seam because of the way I attached it)
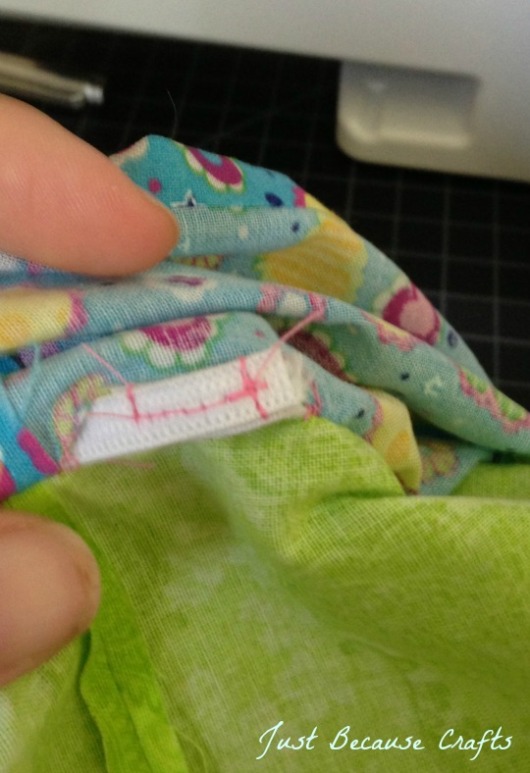
Once this is done you’ll have an opening between the two skirt layers which you can feed your elastic through. Then make sure the elastic isn’t twisted and then sew it together.
Finally put the skirt back on and finish the “waistband” by sewing across the gap you left to feed the elastic through.
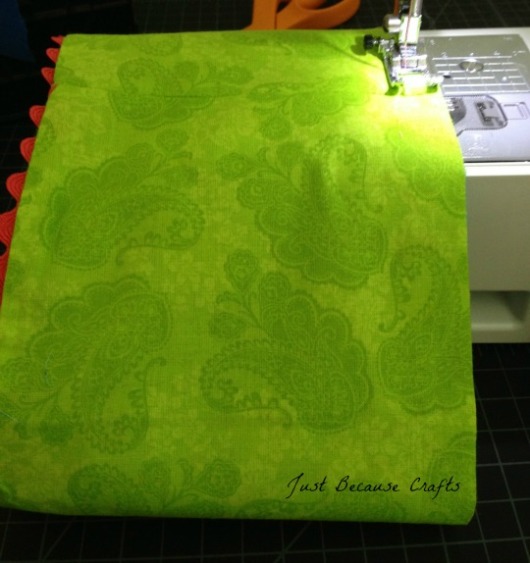
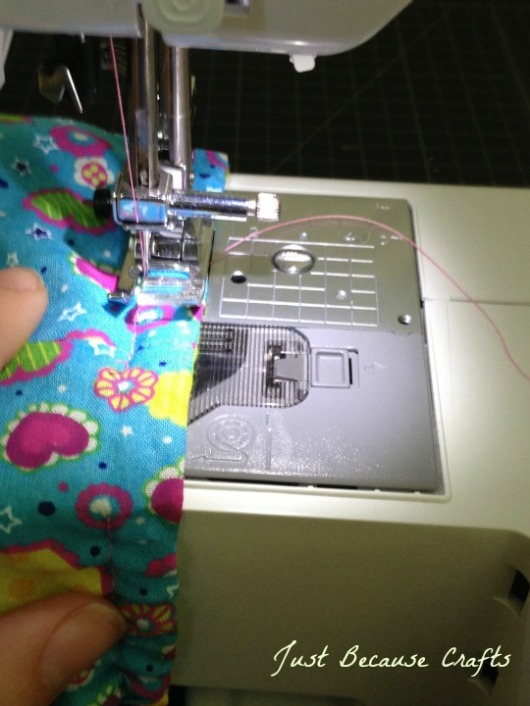
OK, almost done now, we just need to try to keep the two bottom edges together and top stitch right along the bottom of the skirt.
And that’s it – you’re all done! Feel free to repeat whenever your doll needs a new skirt (or the urge strikes)!
Please let me know if anything isn’t clear, I’d love to get any feedback!

Great job, I want to make a ton of these!
Thanks! I’m glad you like it.
So cute! I’ll have to crank some of these out for my daughter’s doll. They would make great birthday gifts for her friends too, thanks for sharing!